
What to Look For During a Used Car Test Drive
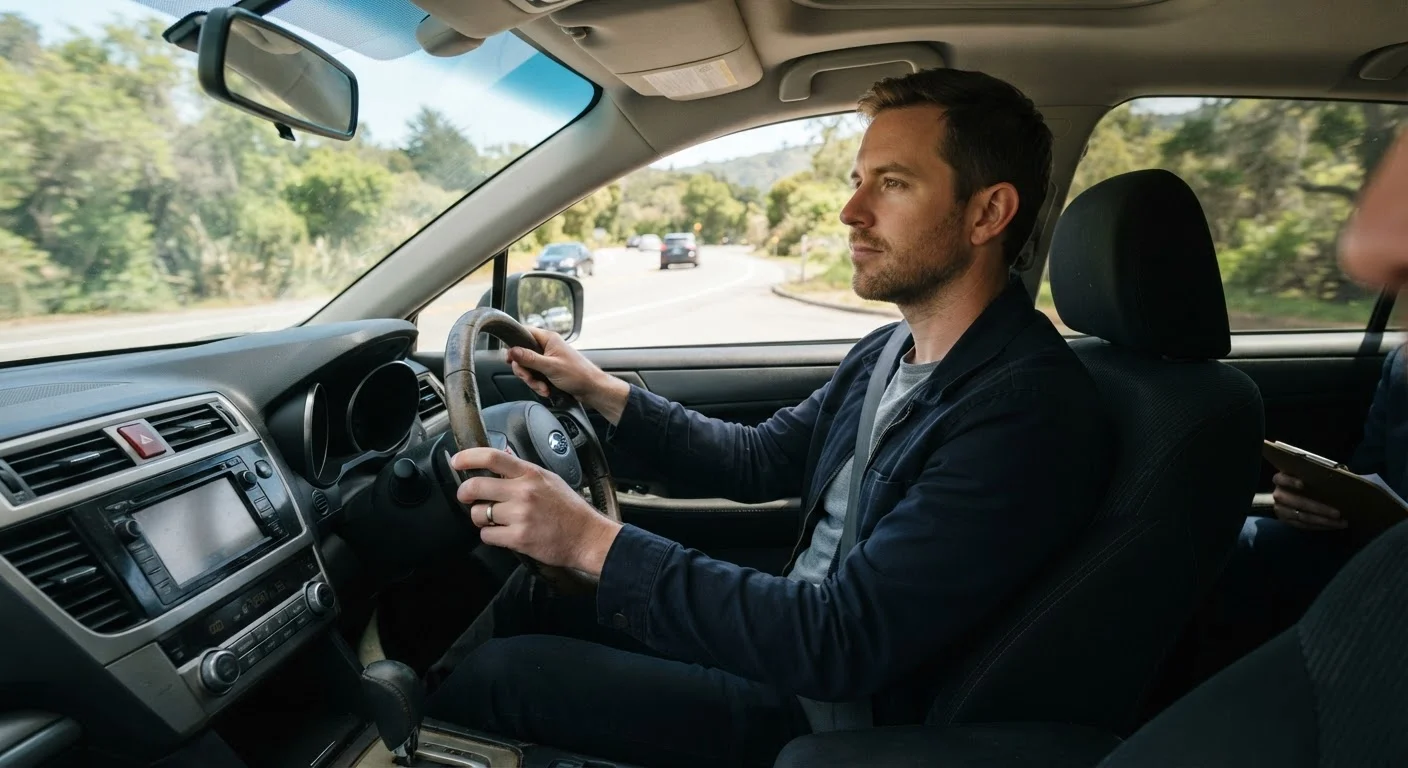
Photo credit: TopInfoTabs.com | Easy Insights For Inspiration
In this article
A test drive is your best diagnostic tool. Here's how to use it methodically to spot mechanical, safety, and comfort red flags.
Key Takeaways
- A test drive should cover city streets, a highway stretch, and a quiet stop-and-go section.
- Unusual noises, vibrations, or smells during the drive are early warning signs worth investigating.
- Test every cabin feature - climate control, mirrors, and driver-assist systems - before committing.
- Braking, steering response, and transmission shifts reveal more than a static inspection ever could.
- Never skip the test drive, even on a car that looks perfect from the outside.
Why the Test Drive Is Your Most Powerful Inspection Tool
A used car can look immaculate in photos and even pass a casual walkover - yet reveal significant mechanical problems the moment it moves. Listings, service records, and visual inspections are all valuable, but they cannot replicate what 20-30 minutes of driving communicates about a vehicle's true condition.
The test drive sits at the heart of every responsible used car purchase. It is the one opportunity you have to stress-test the brakes, transmission, suspension, and electronics under real conditions before any money changes hands. Used together with the full pre-purchase checklist, a well-executed test drive dramatically reduces the risk of an expensive surprise after the sale.
Before you go, make sure you have the prerequisites covered:
What you will need
Here's what to bring along and use during your evaluation:
Smartphone with voice memo app
Record observations hands-free while driving so nothing is forgotten before you speak with the seller.
OBD-II Bluetooth scanner
Reads stored and pending fault codes from the vehicle's onboard computer to surface hidden issues.
Pre-purchase inspection checklist
A printed or digital reference to ensure every system is evaluated consistently during the drive.
Step-by-Step: How to Conduct the Test Drive
Follow these steps in order for a thorough, consistent evaluation of any used vehicle. Plan your route before you arrive - aim for a mix of neighborhood streets, a highway stretch, and a parking maneuver at the end.
Always Drive the Actual Vehicle You Plan to Buy
Dealers occasionally substitute a similar, better-maintained unit for test drives. Confirm the VIN on the key fob or door jamb matches the car listed before you drive. If you are told the specific vehicle is unavailable to drive, treat that as a significant red flag and reconsider proceeding.
Inspect the Car Before You Start the Engine
Walk around the vehicle and note any panel gaps, mismatched paint, or fresh undercoating - these can indicate prior collision repairs. Check tire tread depth and look for uneven wear, which can point to suspension or alignment issues. Peek under the car for fluid puddles or excessive rust on structural components.
Start the Engine Cold (If Possible)
A cold start is more revealing than a warmed-up engine. Listen for tapping, knocking, or excessive exhaust smoke at startup. Blue smoke suggests burning oil; white smoke can indicate a coolant leak or head-gasket concern; black smoke points to a rich fuel mixture. These are all symptoms worth discussing with a qualified mechanic before proceeding.
Evaluate the Cabin and Controls at Rest
Before moving, systematically test every switch and feature: windows, mirrors, seat adjusters, climate controls, infotainment, Bluetooth, backup camera, and all driver-assist indicator lights. A feature that doesn't work represents a negotiating point at minimum - and a dealbreaker at worst. Adjust your seating position and check sightlines thoroughly.
Test Low-Speed Handling and Braking
Begin in a low-traffic area. Turn the steering wheel lock to lock and listen for clunking or grinding, which can indicate worn CV joints or power-steering issues. Brake firmly (but safely) from around 25-30 mph and feel for pulling to one side, shuddering, or a soft pedal. These symptoms suggest brake service may be needed soon.
Assess Highway Acceleration and Transmission Behavior
Merge onto a highway or open road and accelerate to highway speeds. The transmission should shift smoothly and predictably - hesitation, hard shifts, or slipping between gears are serious concerns, particularly on automatic transmissions. Note whether the car tracks straight without steering correction at speed; if it pulls, suspect a tire, wheel balance, or alignment issue.
Perform a Full Stop and Final Parking Check
Return to the lot and brake to a complete stop, listening for any final squealing or grinding. Put the car in reverse and listen for differential or transmission noise. Practice a low-speed parking maneuver to assess the turning radius and confirm that the parking sensors or camera function correctly if equipped. Review your notes and flag any items for follow-up.
Don't Ignore Warning Lights
If any dashboard warning light illuminates during the drive - check-engine, ABS, traction control, or anything else - do not dismiss it as minor. Ask the seller to pull a diagnostic trouble code (DTC) reading before you make any decisions. An unresolved warning light can indicate repairs that cost hundreds to thousands of dollars.
Bring a Second Set of Ears
Invite a trusted passenger along - ideally someone mechanically inclined. While you focus on driving inputs and feel, they can listen for rattles, monitor the instrument cluster, and observe how the car behaves from the passenger seat. Two perspectives catch more than one.
After completing your drive, compare what you observed against the seller's representations and any vehicle history report. If anything warrants further investigation, a pre-purchase inspection by an independent, licensed mechanic is always a worthwhile investment. For everything that comes next in the buying process, see the documents you should receive when buying a car.
This article is for general informational purposes only and does not constitute professional mechanical or financial advice. Always consult a qualified mechanic for a thorough pre-purchase inspection before finalizing any vehicle purchase.

Author
Cars & Driving Editorial Team
Cars & Driving Editorial Team is the collective byline for our editorial team and contributor network. Articles published under this byline or an editorial pen name are researched, written, and reviewed according to our editorial standards for clarity, consistency, and independence before publication.
View all articles →