
Checking Your Tyre Pressure the Right Way
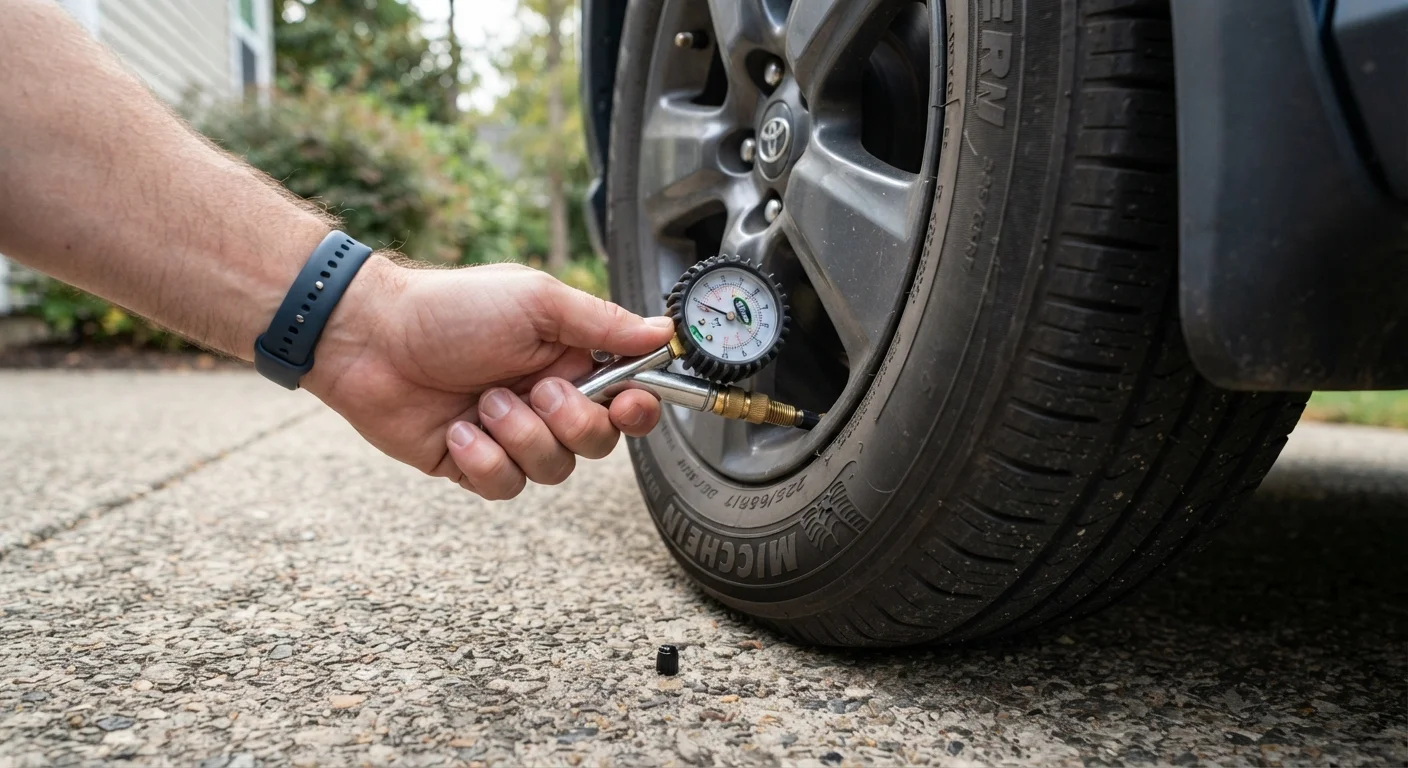
Photo credit: TopInfoTabs.com | Easy Insights For Inspiration
In this article
Learn the correct steps to check and adjust tyre pressure at home, and why getting it right protects both safety and fuel efficiency.
Key Takeaways
- Always check tyre pressure when tyres are cold - before driving or after sitting for at least three hours.
- Your vehicle's recommended PSI is on a sticker inside the driver's door jamb, not on the tyre sidewall.
- Under-inflated tyres reduce fuel efficiency and cause uneven wear; over-inflation reduces grip and ride quality.
- A quality tyre pressure gauge costs very little and is one of the most useful tools you can keep in your car.
- Check all four tyres plus the spare at least once a month and before long journeys.
Why Tyre Pressure Is Worth Getting Right
Tyre pressure is one of those maintenance items that's easy to overlook precisely because it changes slowly and invisibly. A tyre can lose 1-2 PSI per month under normal conditions - faster in cold weather - and look perfectly normal to the eye until it's significantly under-inflated.
The consequences are real. Under-inflated tyres generate more heat through flex, wear unevenly along the outer edges, and increase rolling resistance - meaning your engine works harder and fuel economy drops. Over-inflated tyres wear out faster in the centre of the tread and reduce the amount of rubber in contact with the road surface, affecting handling and braking. Uneven tyre wear is rarely random, and pressure is often the first variable to investigate.
Getting pressure right also supports safe driving habits more broadly. Properly inflated tyres give your vehicle predictable steering response and shorter stopping distances - factors that matter most in an emergency. It's one of the few maintenance tasks that directly affects both your safety and your running costs, which makes the five minutes it takes well worth it.
Cold Tyres Only - This Matters
Tyre pressure rises as you drive because heat expands the air inside. Always measure pressure before your first trip of the day or after the vehicle has been parked for at least three hours. Taking a reading on hot tyres will give you an artificially high number and may lead you to release air you actually need.
What You'll Need Before You Start
This task requires minimal equipment, and most of it is inexpensive or already available at a nearby petrol station. Before you begin, confirm your tyres are cold - the most common mistake drivers make is checking pressure immediately after a drive.
What you will need
Tyre pressure gauge
Measures the air pressure inside each tyre in PSI (pounds per square inch).
Air compressor or tyre inflator
Adds air to under-inflated tyres; many petrol stations also provide coin-operated units.
Valve cap removal tool or fingertips
Removes the small dust caps covering each tyre's valve stem before attaching the gauge.
Vehicle owner's manual
Confirms the manufacturer's recommended PSI if the door-jamb sticker is missing or damaged.
Once you have these items ready, the process is straightforward. It's also a natural addition to the kind of routine covered in a DIY car maintenance overview - low risk, no specialist skills required, and genuinely useful to do yourself.
Don't Use the Sidewall PSI as Your Target
The PSI figure moulded into the tyre sidewall is the maximum pressure the tyre can safely hold - not the recommended operating pressure for your vehicle. Using it as your target can lead to dangerous over-inflation. Always refer to your vehicle's placard or owner's manual for the correct figures.
Step-by-Step: Checking and Adjusting Tyre Pressure
Locate your vehicle's recommended tyre pressure
Open the driver's door and look for a placard on the door jamb - it lists the recommended cold tyre pressure in PSI for the front and rear tyres. If the sticker is missing, check the owner's manual. Record these figures before you start; front and rear pressures are sometimes different.
Remove the valve cap from the first tyre
Each tyre has a small valve stem - a rubber or metal tube protruding from the inner rim. Twist the dust cap counter-clockwise and pocket it so it doesn't roll away. Work your way around all four tyres systematically, starting at the driver's front.
Press the gauge firmly onto the valve stem
Place the open end of your tyre pressure gauge squarely onto the valve stem and press down firmly in one smooth motion. A brief hiss means air escaped before a good seal was made - reposition and try again. The gauge will display the current PSI immediately.
Compare the reading to your target pressure
Note the PSI shown and compare it to the figure from your door-jamb placard. If the reading is within 1-2 PSI of the target, the tyre is acceptable. A reading more than 3 PSI below target means the tyre needs air; more than 3 PSI above means you should release some. Repeat for every tyre, including the spare.
Inflate under-pressure tyres
Attach your air compressor or petrol station hose to the valve stem and add air in short bursts, checking the pressure after each burst. It's easy to overshoot, so go slowly. Once the tyre reaches the target PSI, remove the hose promptly to avoid releasing air unnecessarily.
Release air from over-inflated tyres
Most gauge caps and dedicated tools have a small pin designed to depress the valve core. Press it briefly, then re-check the pressure. Release air gradually - a few seconds at a time - until you reach the correct PSI. Over-inflation reduces the tyre's contact patch with the road, compromising grip.
Replace all valve caps and confirm your readings
Screw each dust cap back on finger-tight. Caps keep moisture and debris out of the valve core, which can cause slow leaks over time. Do a final walk-around to confirm every cap is replaced and no tyre looks visibly lower than the others.
Add a Monthly Reminder
Tyre pressure can drop by roughly 1 PSI for every 10°F fall in ambient temperature, making seasonal checks especially important. Setting a recurring monthly calendar reminder takes seconds and keeps this habit from slipping. Combine it with your seasonal car maintenance checklist for maximum efficiency.
Once tyre pressure is part of your monthly routine, it takes under ten minutes. Pair it with a visual check of tread depth and any obvious sidewall damage while you're at each wheel. For a broader pre-trip inspection, the pre-drive safety checklist is a useful companion before any long journey.
Neglecting small habits like this is also covered in detail in a piece on habits that quietly shorten your car's lifespan - tyre pressure sits alongside tyre rotation and fluid checks as maintenance steps that cost very little but protect a lot.

Author
Cars & Driving Editorial Team
Cars & Driving Editorial Team is the collective byline for our editorial team and contributor network. Articles published under this byline or an editorial pen name are researched, written, and reviewed according to our editorial standards for clarity, consistency, and independence before publication.
View all articles →