
Makeup Removal Done Properly: What Most People Skip
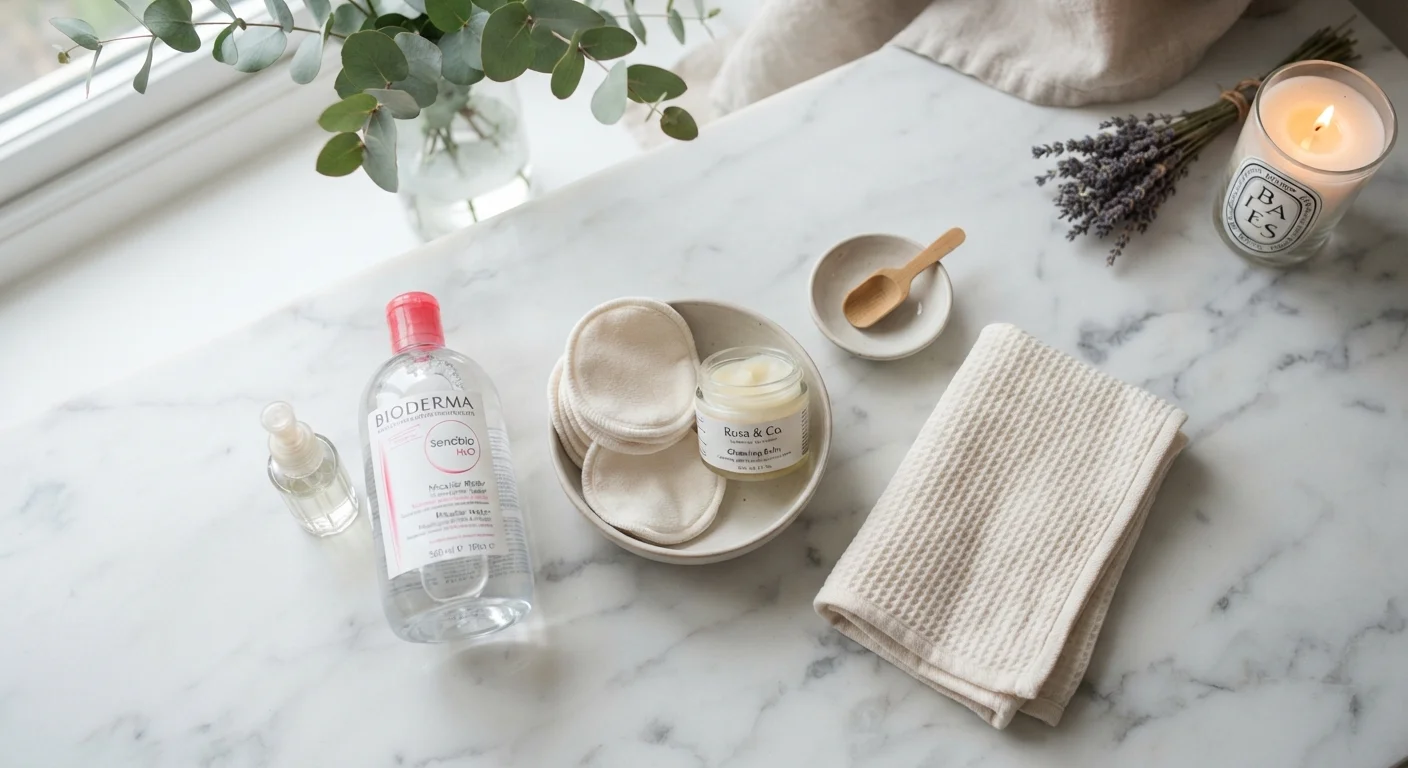
Photo credit: TopInfoTabs.com | Easy Insights For Inspiration
In this article
A quick wipe isn't always enough. Learn the steps behind thorough, skin-friendly makeup removal that doesn't leave residue or cause irritation.
Key Takeaways
- One wipe or micellar water alone rarely removes all makeup, especially around the eyes.
- A two-step approach - pre-cleanse then wash - is the most thorough method for most skin types.
- Harsh rubbing damages the skin barrier; gentle pressure and the right product do the real work.
- Residual makeup left overnight can contribute to clogged pores and dullness over time.
- Your removal routine should feed directly into your broader evening skincare steps.
Why a Quick Wipe Isn't Cutting It
Most people have been there: exhausted at the end of a long day, a single makeup wipe gets swiped across the face, and that's considered done. The problem? Makeup wipes are designed to loosen product, not fully remove it. Foundation, sunscreen, and especially waterproof mascara are formulated to stay put - and they do, even after a wipe-down.
Leaving residue on skin overnight gives it hours to sit in your pores. Over time, that can translate to congestion, uneven texture, and a general dullness that no highlighter can fix. The good news: a genuinely thorough removal routine takes under ten minutes and doesn't require a complicated shelf of products. If you're building out your evening approach, it pairs naturally with the steps covered in our beginner skincare routine guide.
What you will need
What You'll Need
The right tools make all the difference between rubbing your skin raw and gliding product off with ease. You don't need everything on this list - but understanding each option helps you choose what suits your skin type and the makeup you typically wear.
Cleansing Balm or Oil
Dissolves oil-based makeup, SPF, and long-wear formulas effectively without stripping moisture.
Micellar Water
A gentler pre-cleanse option that lifts light makeup and is well-suited to sensitive or dry skin types.
Gentle Face Cleanser
The second cleansing step that removes pre-cleanse residue and any remaining surface debris.
Soft Cotton Pads
Used to apply and gently wipe away pre-cleanse products, especially around the eye area.
Reusable Muslin or Microfiber Cloth
Provides gentle physical texture for removing cleanser without over-exfoliating.
Dedicated Eye Makeup Remover
A biphasic (two-phase) formula specifically designed to break down waterproof mascara and liner with minimal rubbing.
Step-by-Step: How to Remove Makeup Properly
Follow these steps in order for the most complete, skin-kind removal possible. The sequence matters - starting with the eyes and lips before tackling the rest of your face prevents smearing pigment across areas you've already cleaned.
Start with your eyes and lips
Saturate a soft cotton pad with your eye makeup remover or micellar water. Hold it gently against your closed eye for 10-15 seconds - this dissolve time is the step most people skip. Then wipe downward in a single, light stroke. Repeat until the pad comes away clean. Do the same for your lips, pressing the pad against the lip area before gently removing.
Apply your pre-cleanse product to dry skin
Scoop a small amount of cleansing balm - roughly the size of a grape - or pump a few drops of cleansing oil into your palms. Apply directly to your dry face and massage in slow, circular motions for at least 60 seconds. This step emulsifies (breaks down) foundation, concealer, blush, and any SPF you're wearing. Pay particular attention to the hairline, sides of the nose, and jawline where product accumulates.
Emulsify and rinse the pre-cleanse
Wet your fingertips with a little warm water and continue massaging your face. The balm or oil will turn milky as it emulsifies. Rinse thoroughly with lukewarm water, making sure no oily residue remains along the hairline or jawline.
Follow with your regular face cleanser
Apply your everyday gentle cleanser to damp skin and massage for another 30-60 seconds. This second cleanse removes any traces left by the pre-cleanse product itself, as well as sweat and environmental buildup from the day. Rinse well with lukewarm water - hot water can be unnecessarily harsh on skin - and pat (don't rub) dry with a clean towel.
Check and continue your skincare routine
Hold your face under good lighting or check in the mirror. Look along the lash line, around the nostrils, and at the hairline - these are the spots most likely to still have trace product. If you spot any, a cotton pad with a little micellar water handles it quickly. From here, your skin is properly prepped for toner, serum, moisturizer, or any targeted treatments in your evening routine.
Make the Double Cleanse a Habit
The two-step approach - pre-cleanse followed by face wash - is often called the 'double cleanse,' and it's popular for good reason: it reliably gets skin clean without requiring harsh formulas or aggressive scrubbing. If wearing makeup is a regular part of your week, building this into your nightly wind-down makes the whole thing feel automatic rather than effortful.
Common Mistakes That Undermine Your Routine
Even with the right products, a few habits can sabotage your efforts. The most frequent culprit is rubbing too hard - especially around the delicate eye area. The skin there is significantly thinner than the rest of your face, and repeated friction can contribute to irritation and, over time, a breakdown of the skin barrier.
Another skip most people don't realize they're making: not following removal with a proper cleanser. Pre-cleanse products (balms, oils, micellar water) do a fantastic job lifting makeup, but they're not a substitute for your actual face wash. Think of it as a two-step handoff: the pre-cleanse dissolves; the cleanser clears. If you're curious about how to read the ingredient lists on the cleansers and removal products you're choosing, our skincare ingredient guide breaks it down without the chemistry overwhelm.
Avoid Makeup Wipes as Your Only Step
Makeup wipes are a convenient backup for travel or the occasional late night, but dermatologists generally don't recommend them as a daily removal method. Many contain preservatives and alcohol that can irritate skin over time, and the wiping action tends to move product around rather than fully clear it. Use them as a last resort, not a routine.
Once your makeup is fully removed and your face is cleansed, you're in the ideal position to apply serums, moisturizers, and any treatments - exactly the kind of steps outlined in a solid skincare checklist adapted for evening use. And if you're still figuring out what makeup you're removing in the first place, our makeup basics guide is a great place to start.

Author
Style & Beauty Editorial Team
Style & Beauty Editorial Team is the collective byline for our editorial team and contributor network. Articles published under this byline or an editorial pen name are researched, written, and reviewed according to our editorial standards for clarity, consistency, and independence before publication.
View all articles →