
Setting Up a Comfortable, Functional Home Workstation
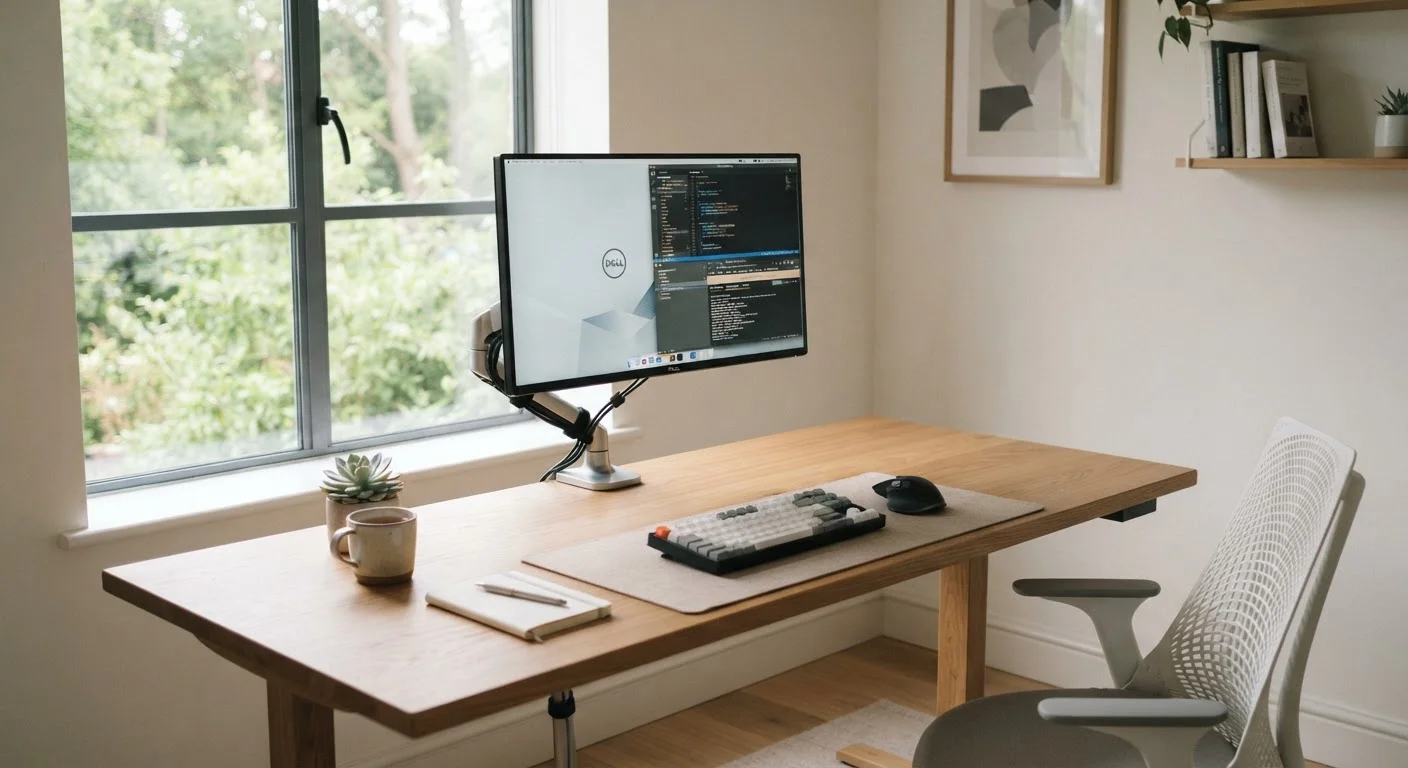
Photo credit: TopInfoTabs.com | Easy Insights For Inspiration
In this article
A step-by-step walkthrough for arranging your desk, monitor, keyboard, and cables into a setup that's ergonomic and clutter-free.
Key Takeaways
- Monitor height and distance are the single biggest factors in reducing neck and eye strain.
- Cable management takes less than 15 minutes and dramatically reduces desk clutter.
- Keyboard and mouse placement relative to your elbow height directly affects wrist comfort.
- Good lighting-both ambient and task-prevents fatigue during long work sessions.
- A few deliberate accessory choices can transform how your setup feels to use every day.
Why Setup Quality Matters More Than Specs
Many people spend significant time choosing a computer but almost no time thinking about how it's arranged. Yet the physical configuration of a workstation - monitor angle, keyboard distance, lighting - has a more direct daily impact on comfort and productivity than most hardware upgrades. A well-placed mid-range monitor is more comfortable to work at for eight hours than an expensive one positioned at the wrong height.
This guide walks through each element of a home workstation systematically, so you can build good ergonomic habits without guesswork. If you haven't yet decided between a laptop and desktop, the trade-offs between those two form factors are worth reviewing before committing to a permanent desk layout.
What you will need
What You'll Need
A home workstation doesn't require expensive equipment to be functional and comfortable. The tools below cover the essentials and a few optional upgrades that deliver a noticeable difference.
Adjustable monitor arm or stand
Raises your screen to eye level and frees up valuable desk surface.
Cable ties or velcro straps
Bundle and route cables neatly so they don't tangle or clutter the desktop.
Wrist rest (keyboard and mouse)
Supports your wrists at a neutral angle during extended typing and clicking sessions.
Desk lamp with adjustable arm
Provides targeted task lighting to reduce eye strain without creating screen glare.
USB hub or docking station
Consolidates peripheral connections into a single cable run, reducing desktop clutter.
For a deeper look at which accessories genuinely earn their desk space, see our overview of accessories that meaningfully improve everyday computer use.
Step-by-Step Setup
Follow these steps in order - each one builds on the previous. The full process takes 30 to 90 minutes depending on how much cabling and furniture rearrangement your space requires.
Position your chair and establish elbow height
Before placing any equipment, set your chair so your feet rest flat on the floor and your knees form roughly a 90-degree angle. Adjust the seat height until your forearms, when resting on the desk surface, are parallel to the floor or angled very slightly downward. This elbow height is your ergonomic baseline - every other item on your desk should be arranged relative to it.
Set monitor height and distance
Place your monitor so the top edge of the screen sits at or just below eye level when you're seated upright. Position it roughly an arm's length away - typically 50-70 cm (20-28 inches). Tilt the screen back 10-20 degrees to reduce neck bending. If you're working from a laptop, an external monitor or a laptop stand is strongly recommended; staring down at a built-in screen for hours accelerates neck fatigue significantly.
Place keyboard and mouse at elbow level
Slide your keyboard close enough that your upper arms hang relaxed at your sides - you shouldn't be reaching forward. Your wrists should be straight or very slightly extended, not bent upward. Position your mouse immediately beside the keyboard so you don't have to stretch your shoulder to reach it. If your desk surface is too high for this, a keyboard tray mounted underneath can solve the problem without replacing the desk.
Manage your cables
Gather all cables running from your monitor, keyboard, mouse, and peripherals and bundle them using velcro straps or cable ties. Route them along the back edge of the desk or down a single desk leg. A cable management box or a simple power strip placed out of sight keeps surge protectors and excess cord length hidden. This step alone makes the workspace feel more organized and easier to clean.
Arrange lighting to minimize glare
Position your primary ambient light source (ceiling or window) to the side of your monitor, not behind or directly in front of it. Add a desk lamp angled toward your physical workspace - papers, notebooks - rather than directly at your screen. If you work in the evenings, consider a lamp with adjustable color temperature; cooler light supports alertness while warmer tones reduce eye strain in low-ambient conditions.
Consolidate peripherals and clear the surface
Only keep items on your desk that you use daily - remove everything else to a drawer or shelf. If you have multiple USB devices, a docking station or USB hub reduces cable count and keeps your desk clean. A single hub plugged into your computer means one cable to disconnect if you move the machine. Aim for visible desk space on at least one side of your keyboard; a crowded surface increases cognitive load during focused work.
Ergonomics Affects Long-Term Health
Poor posture and awkward equipment placement contribute to musculoskeletal issues including neck pain, back strain, and repetitive stress injuries over time. The steps in this guide reflect general ergonomic principles, but individual needs vary. If you experience persistent pain or discomfort, consult a qualified occupational therapist or healthcare professional rather than adjusting your way through discomfort.
Sustaining the Setup Over Time
A workstation arranged well today can drift back into discomfort if small habits aren't maintained. Periodically check that your monitor height hasn't shifted (especially if you've moved furniture), that cables haven't accumulated new slack, and that your chair is still at the right height if others use it.
Take a Movement Break Every Hour
No workstation setup eliminates the need for regular movement. Standing up, stretching, and briefly refocusing your eyes on a distant point every 45-60 minutes helps reduce cumulative strain. Set a repeating timer if you tend to lose track of time during focused work.
If you share your workspace with other members of your household, adapting the setup for different users - particularly those with different physical requirements - is worth considering early. Adjustable chairs and monitor arms make multi-user desks significantly easier to manage. For broader ideas on useful home technology that supports daily routines, our roundup of understated home gadgets covers devices that earn their place without demanding attention.
Don't Over-Invest Before Testing
It's tempting to purchase every ergonomic accessory at once, but small adjustments to your existing setup often solve most discomfort problems first. Try repositioning your monitor and chair before buying new equipment. Once you've identified a specific gap - wrist support, cable clutter, poor lighting - then consider targeted tools.

Author
Tech & Gadgets Editorial Team
Tech & Gadgets Editorial Team is the collective byline for our editorial team and contributor network. Articles published under this byline or an editorial pen name are researched, written, and reviewed according to our editorial standards for clarity, consistency, and independence before publication.
View all articles →