
Setting Up a Smart Speaker for the First Time
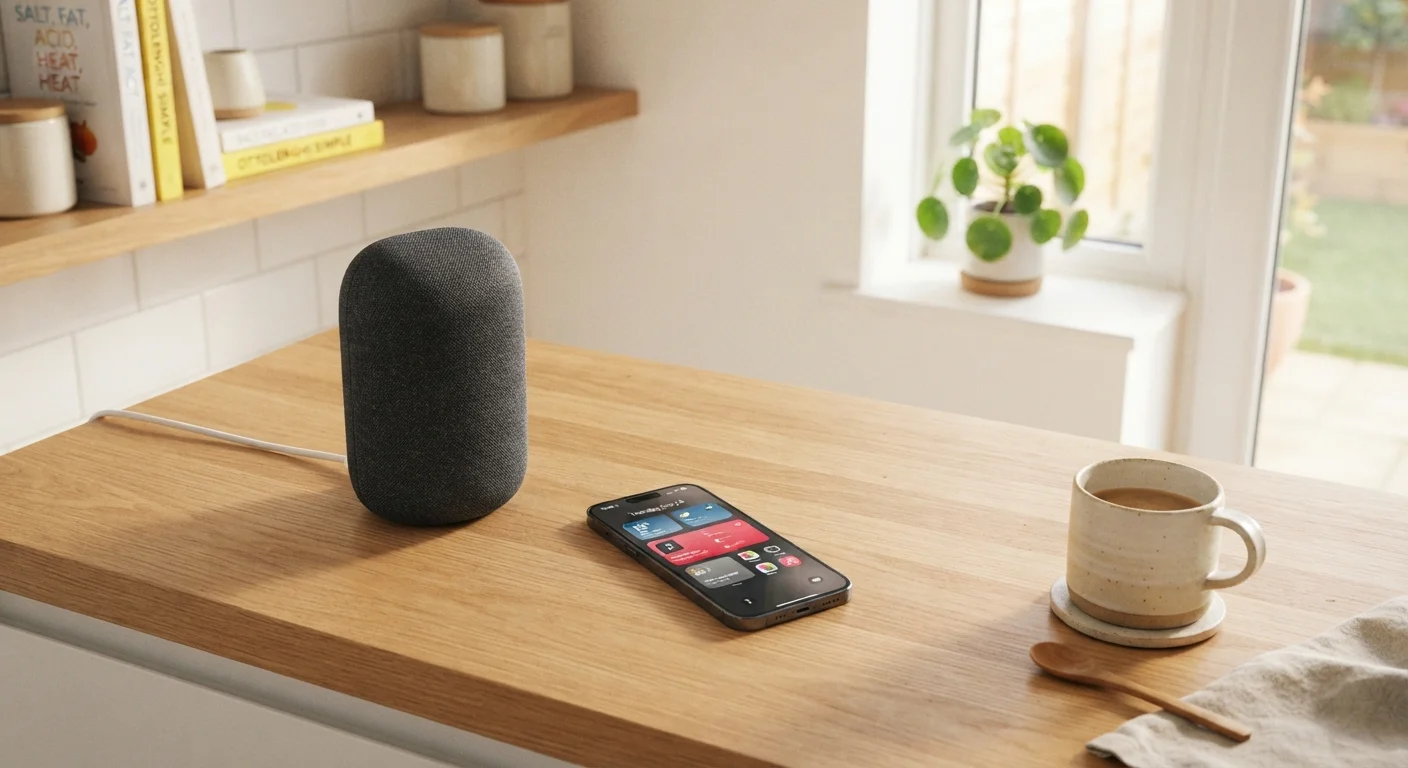
Photo credit: TopInfoTabs.com | Easy Insights For Inspiration
In this article
A calm, step-by-step walkthrough for connecting a smart speaker, creating routines, and adjusting privacy settings from day one.
Key Takeaways
- A stable Wi-Fi connection and the manufacturer's companion app are the two essentials before setup.
- Privacy settings, including microphone controls and voice history, should be configured during initial setup.
- Routines and smart home integrations unlock the real value of a smart speaker beyond timers and questions.
- Speaker placement directly affects voice recognition accuracy and sound quality.
- Good security habits are easier to build at setup than to add later.
What You Need Before You Begin
Smart speakers are among the more forgiving home tech devices to set up, but a little preparation prevents the most common frustrations. Gather the following before plugging anything in.
What you will need
Companion App
Required to connect the speaker to Wi-Fi, manage settings, and build routines.
Platform Account
Ties the speaker to your voice profile, purchased content, and smart home integrations.
Wi-Fi Router
Provides the network connection the speaker needs to function.
Ethernet Adapter (if available for your model)
Offers a wired fallback for more stable connectivity during initial setup.
If you're new to smartphones and app stores, our beginner's guide to smartphones covers how to find and install apps before you start.
Step-by-Step Setup
Follow these steps in order. Most setups complete in under 20 minutes on a reliable connection.
Choose the Right Location
Place the speaker centrally in the room, away from walls and corners when possible. Microphones pick up voice commands more reliably when the speaker isn't tucked into a shelf or blocked by objects. Avoid positioning it next to a TV or radio - competing audio is the most common cause of missed wake words.
Plug In and Wait for the Startup Signal
Connect the power adapter and plug it into the outlet. The speaker will indicate it's ready - typically through a light ring pattern or an audio chime. Consult the included quick-start card if nothing happens within 60 seconds; some models have a small reset button that may have been pressed during shipping.
Open the Companion App and Add the Device
Open the manufacturer's app on your smartphone, sign in to your platform account, and select the option to add a new device. Follow the on-screen prompts - the app will typically ask you to confirm the device type, put it into pairing mode (often automatic), and then select your Wi-Fi network.
Connect to Your Wi-Fi Network
When prompted, select your home network from the list and enter the password. The app will transfer credentials to the speaker. This step can take 30-90 seconds. Once connected, the speaker will typically announce that setup is complete.
Configure Privacy Settings
Before using the speaker normally, navigate to the privacy section of the companion app. Enable auto-deletion of voice history if available, review what data is retained by default, and decide whether to enable or disable personalized features like voice profiles. Mute the microphone physically and confirm the speaker stops responding - this verifies the hardware mute is working.
Set Up Your First Routine
In the app, find the Routines or Automations section. Create one simple routine - for example, a good morning trigger that reads the day's weather. Test it immediately by saying the trigger phrase aloud. Confirming that at least one routine works before moving on validates that the speaker is fully functional and responsive.
Teach Family Members the Wake Word
Smart speakers respond best when everyone in the household knows the wake word and speaks it clearly before a command. A brief household walkthrough on day one prevents confusion and reduces false activations - which are a common source of privacy concern.
Privacy and Security From Day One
Smart speakers are always-on microphone devices, which makes privacy configuration a priority - not an afterthought. Every major platform provides controls to limit how voice data is stored and used; the specifics vary by manufacturer, but the categories are consistent.
- Voice history: Most companion apps let you review, delete, and auto-delete recorded voice interactions. Turn on auto-deletion if available.
- Microphone mute: Physical mute buttons on the speaker itself disable the microphone at a hardware level. Use it when you want guaranteed silence.
- Voice purchasing: If your speaker supports shopping by voice, consider disabling or PIN-protecting it to prevent accidental or unauthorized orders.
- Guest permissions: Some platforms allow you to restrict what guest users or children can access. Set these boundaries early.
Default Settings Favor Convenience Over Privacy
Out of the box, most smart speakers store voice recordings and enable features like personalized suggestions by default. These defaults are designed for user convenience, not maximum data minimization. Actively reviewing and adjusting settings during setup - rather than accepting defaults - gives you meaningful control over what is retained.
For a broader look at protecting your connected home, see our guide on smart home security and network safety.
Creating Routines That Actually Help
A smart speaker earns its place in daily life through automation. Routines - sequences of actions triggered by a phrase, a time, or an event - are where most of the practical value lives.
Common examples include a morning routine that reads a weather summary and starts a playlist, or an evening routine that dims compatible lights and sets a reminder. You create and edit these inside the companion app.
If you own or plan to own other connected devices, a smart speaker is often the voice control layer that ties them together. Our article on getting the most from a smart home hub explains how to group devices and build more advanced automations. For those just adding their first connected device, starting with a thermostat is another common entry point - see our smart thermostat introduction for new owners for context on how these devices learn your preferences over time.
Keep early routines simple. One or two reliable automations you actually use are more valuable than a dozen that need constant adjustment.

Author
Tech & Gadgets Editorial Team
Tech & Gadgets Editorial Team is the collective byline for our editorial team and contributor network. Articles published under this byline or an editorial pen name are researched, written, and reviewed according to our editorial standards for clarity, consistency, and independence before publication.
View all articles →